This guide covers the three main stages of creating documentation with ArkScribe: Recording, Editing, and Exporting.
Step 1: Start Recording
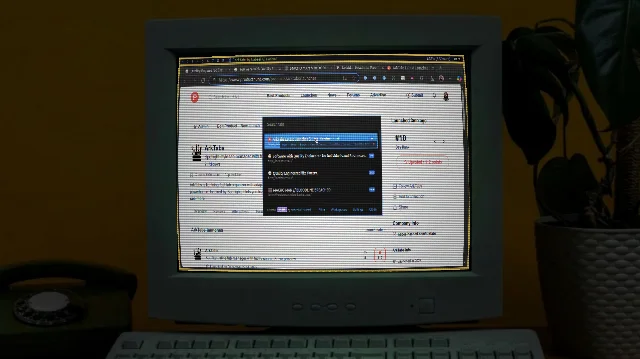
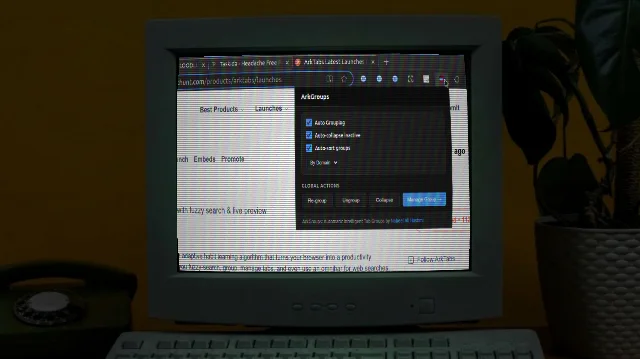
Click the ArkScribe icon in your browser toolbar to open the extension. Click the "Start Recording" button. ArkScribe will now automatically capture your actions.
Step 2: Perform Your Task
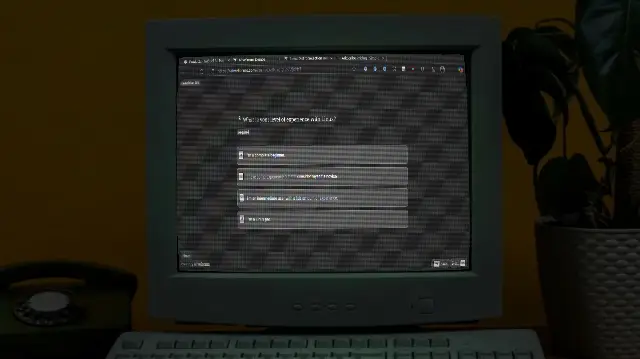
Navigate to the web page where you want to start the guide. As you interact with the page, ArkScribe will take screenshots and generate descriptions for each step.
- Clicks: Captures a screenshot and identifies the element you clicked.
- Typing: Records the text you entered into a field.
- Manual Screenshots: Use the hotkey to capture a screenshot at any moment.
Step 3: Stop Recording
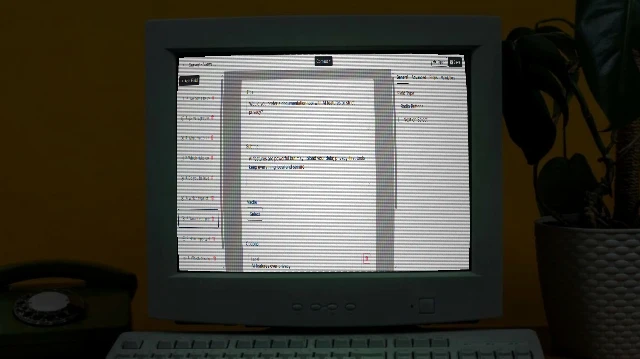
Once you have completed your task, click the ArkScribe icon again and press the "Stop Recording" button. You will be taken to the guide editor page.
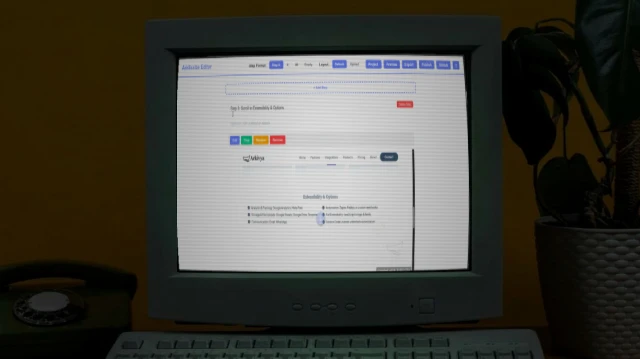
Step 4: Edit Your Guide
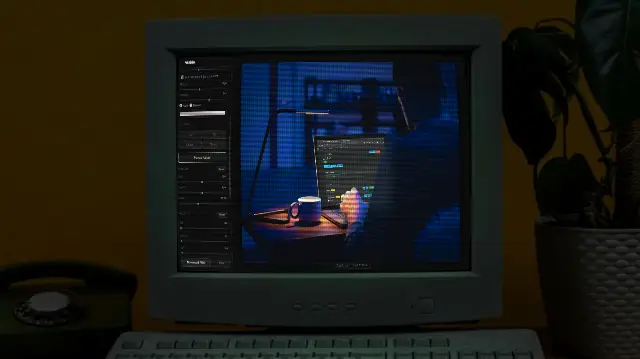
In the editor, you can refine your guide:
- Edit Text: Click on any step's title or description to edit.
- Add Details: Provide extra information or warnings for a step.
- Annotate (Pro): Crop, annotate, blur, and add shapes or text to screenshots.
Step 5: Export Your Guide
When you are happy with your guide, click the "Export" button. ArkScribe will generate a ZIP file containing your guide in multiple formats (PDF, HTML, Markdown, Images).